Using Snapseed on your Phone
 Often you’ll hear that you need to use proper tools for decent photography. Well, I’m here to tell you that today in an age of mobile phone Apps, that is not entirely a true statement. If you’re an enthusiastic amateur who always carries their phone with them – you might want to read on.
For some time now my wife and I have been spending our summers in Spain where it is HOT and pretty much the last thing I want to do on a very hot day – is carry around a camera. My phone however goes with me everywhere and hence tends to get a lot of use.
Taking pictures with a mobile phone is easy if you follow a few simple rules (and sadly many do not).
Firstly – the camera: to that tiny little lens hole on the back of your phone, fingerprints seem MASSIVE, as do dust particles – so before taking photos always make sure the lens cover is clean and smear-free. Secondly – put some thought into lighting – large cameras with huge lenses get lots of light – phones don’t have large lenses and so pictures are best taken with LOTS of light – or a VERY steady hand – or both – but really, there is no substitute for good lighting – no way around it. Lastly – if you HAVE to use Flash, fine – but it usually makes for very cold photos – I always try to avoid flash.
So you’ve taken your snaps – and because you were in a hurry, the picture is at a slight angle, that stuff over on the left you really don’t want and why is the photo a bit reddish?
![Snapseed[5]](https://photo.scargill.net/wp-content/uploads/2016/09/Snapseed5.jpg "Snapseed[5]") In the past, fixing up photos like that were a pain – copy the image out of the phone onto the PC, load up an editor (and there are some GREAT PC editors – I’m not really a Mac fan – but we’ll cover them in a future article) and off you go. But today, we want to take our pictures, make them look great and perhaps send off to Facebook NOW, not later.
In the past, fixing up photos like that were a pain – copy the image out of the phone onto the PC, load up an editor (and there are some GREAT PC editors – I’m not really a Mac fan – but we’ll cover them in a future article) and off you go. But today, we want to take our pictures, make them look great and perhaps send off to Facebook NOW, not later.
Well, you CAN do this on the phone.
A long time ago I discovered a free App for Android (it is probably available for IOS too) called Snapseed. I’ve recommended this to hundreds of people and I know dozens who use it on a daily basis. You get it from the Play store on Android.
Once installed – this App is best used in it’s “sharing” mode. That is, assuming you have taken your picture and are looking at it in the phone gallery, you can SHARE WITH… to get the photo into Snapseed.
 Once in, there are a number of tools in there which once upon a time would have cost good money and indeed at the time of writing, at least one tool is new to Snapseed and a VERY welcome addition. That is the “white balance” tool.
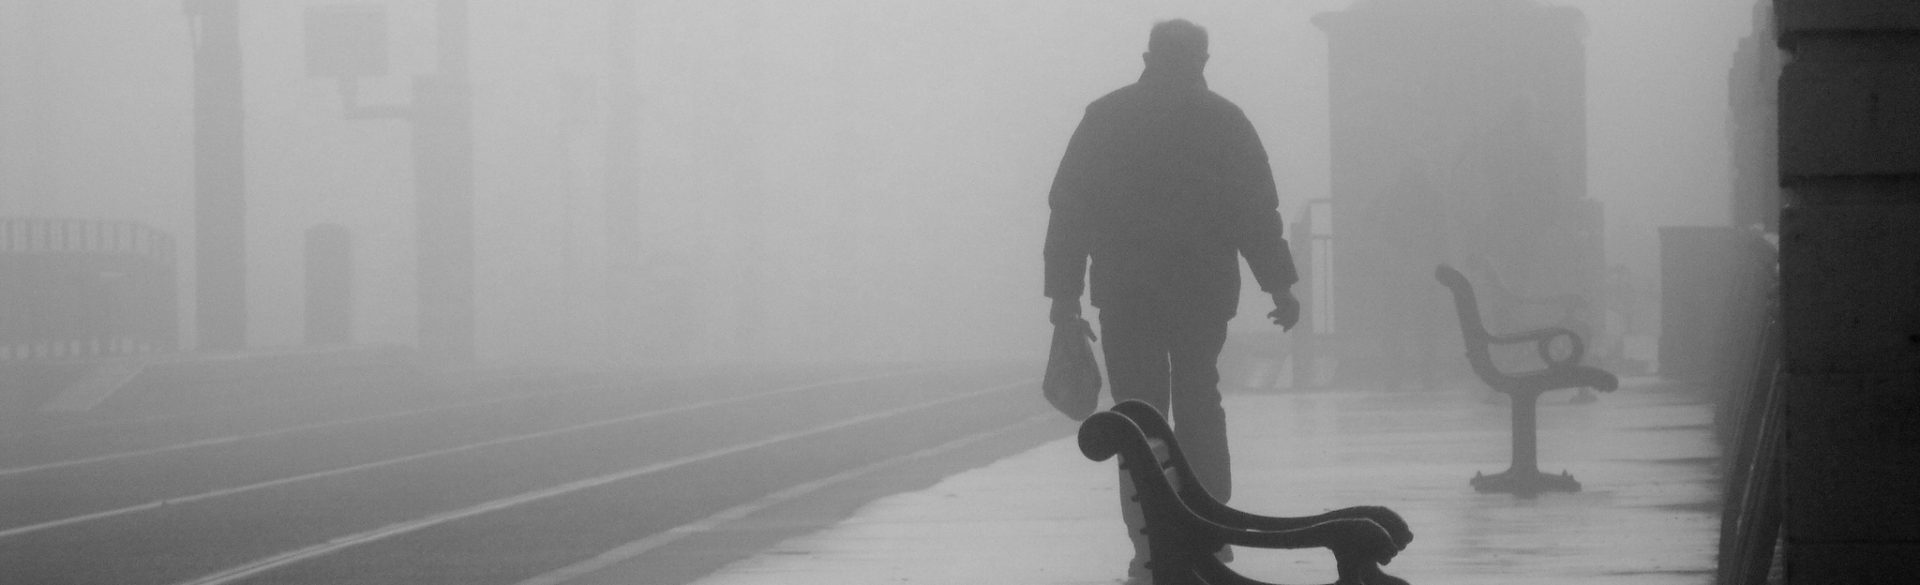
Over on the right we have a screenshot of a non-too-special photo of the seaside I took some time ago. It is, well, a bit boring and at a slight angle as are most of my shots – maybe I have one arm longer than the other…
 On the lower right of that image, you see a white circle with a pencil in it – that is the editing tool and where our short journey begins.
On my left you’ll see the menu. This of course, being on a phone is all touch-friendly. You’ll see some tools which are instantly recognisable to any professional but I’m going to assume that some folk reading this blog are NOT full time photographers – so at the risk of boring the experienced.. I’ll just detail the more relevant.
Tune Image – is a tool which we’ll look at in a minute – lots of goodies in there. Crop – this is the tool that let’s you select (easily) which part of the image you want to keep – and which part you want to throw away – it needs little explanation.
Rotate is important – you can rotate 90 degrees at the touch of a button but just as easily make subtle changes. See my photo above – it is leaning a little to the left. Thanks to the rotate tool – the image on the right here is no longer listing to one side – and it took no more than a couple of seconds to fix. I just put my finger on the image and rotated the image until the horizon matched the guidelines. Doddle.
Perspective is a great tool. Ever taken a picture of a page or menu and it ends up all distorted? Well the perspective tool will let you straighten it back up!
 And so, back to Tune Image. Once in there you can select a number of features like contrast, brightness, saturation (turning the colour up and down – handy for those dull days in the UK) and something you may not have come across before – “ambience” – which uses a combination of filters behind the scenes to.. well how can I put it, brighten up the image, bringing in a little more colour and brightening up the middle tones. It’s a lot easier to use than describe. Don’t overdo it – select the tool by moving up and down the image with your finger – then USE the tool by moving left and right – it really does not get any easier.
 And finally for now, the white balance tool. In the image above – whether or not it is accurate – I thought it was a little – dull – not enough blue. Now, you can shift the overall colour of an image toward blue or any other colour but that usually messes up whites – the white balance tool is clever – you move a little marker to part of the scene that should be WHITE and it automatically adjusts the entire picture. Within limits it is great for those late night scenes or indoor scenes where the colour case is awful and you just can’t find any other way to adjust the picture. For fish-tank scenes which generally have a blue-green tint, this tool can work wonders.
You may or may not like my final result – but I take them for me – to give me memories not of the past as it may have been (I’d like to forget the winter of discontent for example) but as I think things were. These tools can help you do that. Looking at the image on the right, there is colour in the greenery – whereas before it was very dull. The waterline is straight and the sky has a nice deep hue. That is how I remember the location – and Snapseed has helped me preserve that memory.
 Here I’ll demonstrate the perspective tool and warn you before-hand that the pictures are POOR as I was doing this in a hurry for my technical blog.
Here I took a picture of an LCD terminal – I did it at an angle because all attempts to photograph it head-on failed due to reflections. The perspective tool in Snapseed (you’ll  see it in the menu higher up this blog) allows you to drag the corners of a photo and deform it – or rather restore it.
The result – again a quick shot so don’t take this as representative of quality… but I think you’ll agree it does a half-decent job of straightening the image up – took me maybe a minute.
No miracles, you will lose a little in the translation but if it turns a fairly useless shot into a usable picture that has to be good – there are many occasions you might need this – a picture of a building you had to take at an angle to avoid window reflection etc. Anyway – there it is. Take a photo of a receipt at any old angle and make it look like you took the picture head-on? Sure – and that’s just the beginning…
And this description while perfectly valid – is starting to date as they have CONTINUED improve this program so that it has all sorts of presets you can use as well as even better controls than before. It truly is a MUST if you want to process pictures on the move. If truth be told I rarely now bother with anything else to do the job.
Have fun – it’s free.
Comments on "Using Snapseed on your Phone"